BISMARCK class gallery 4

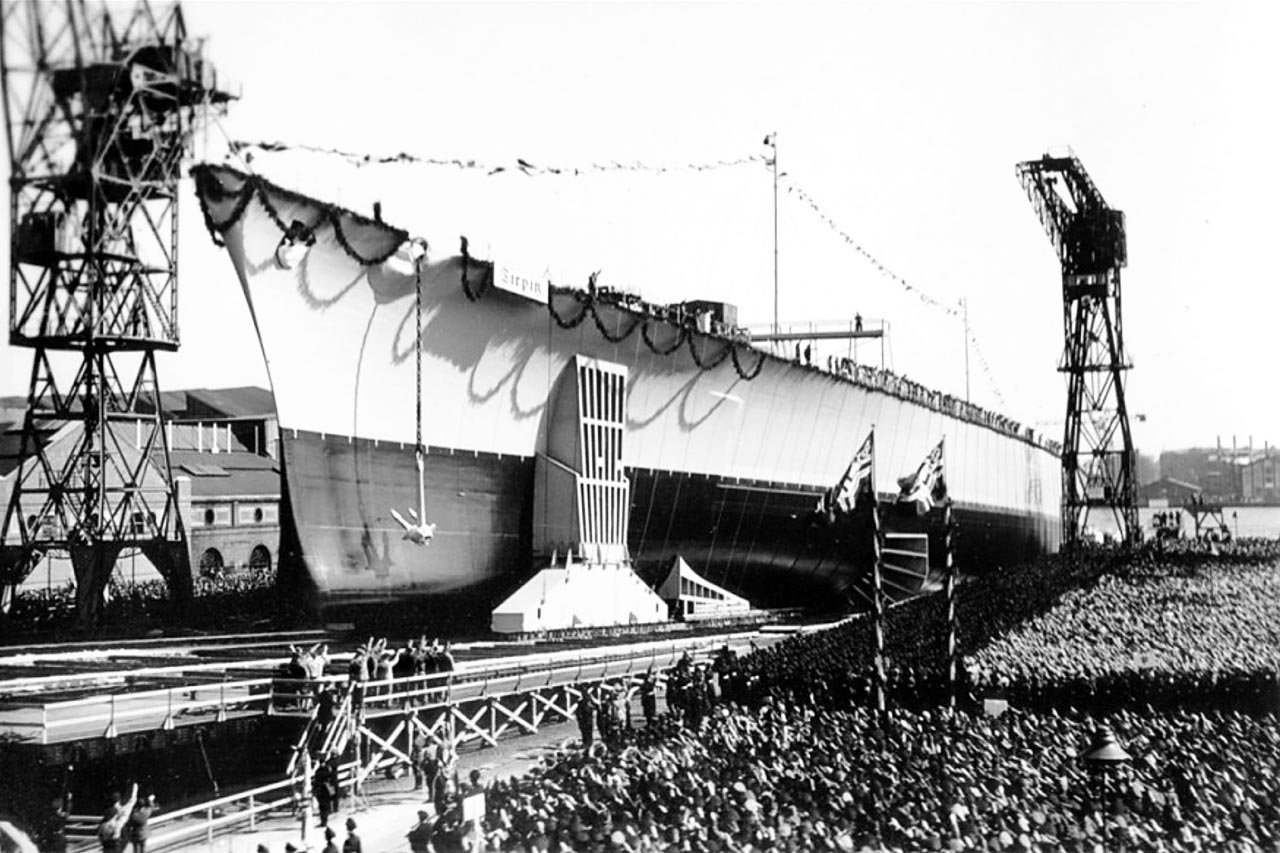
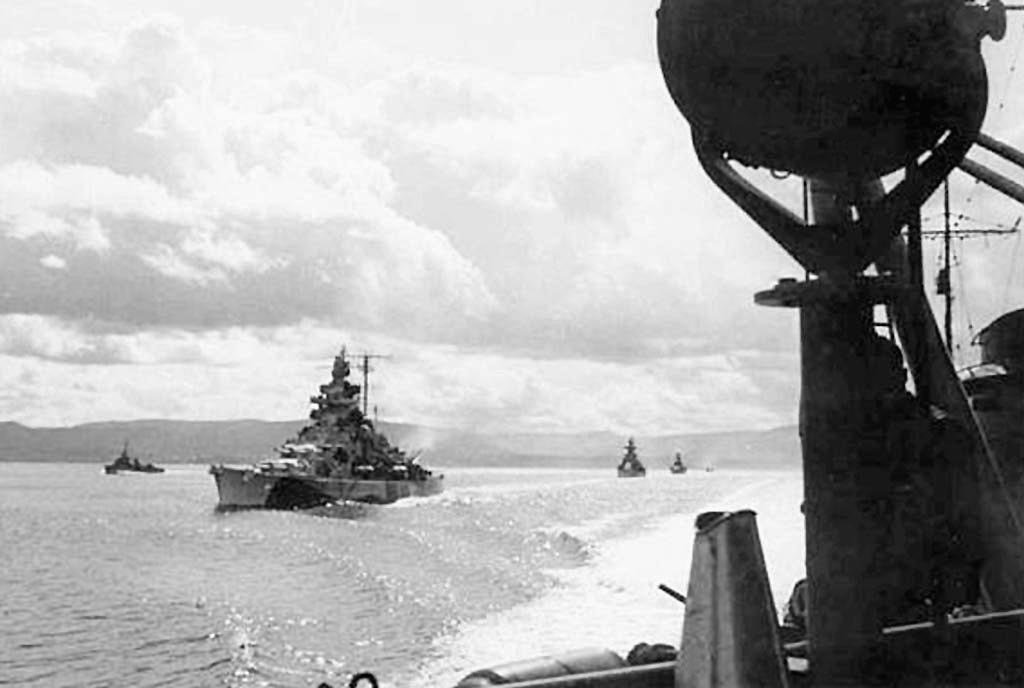
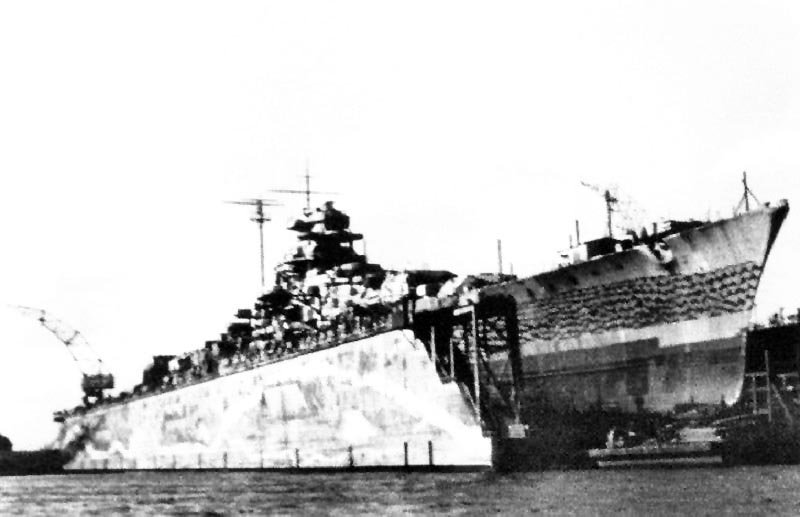

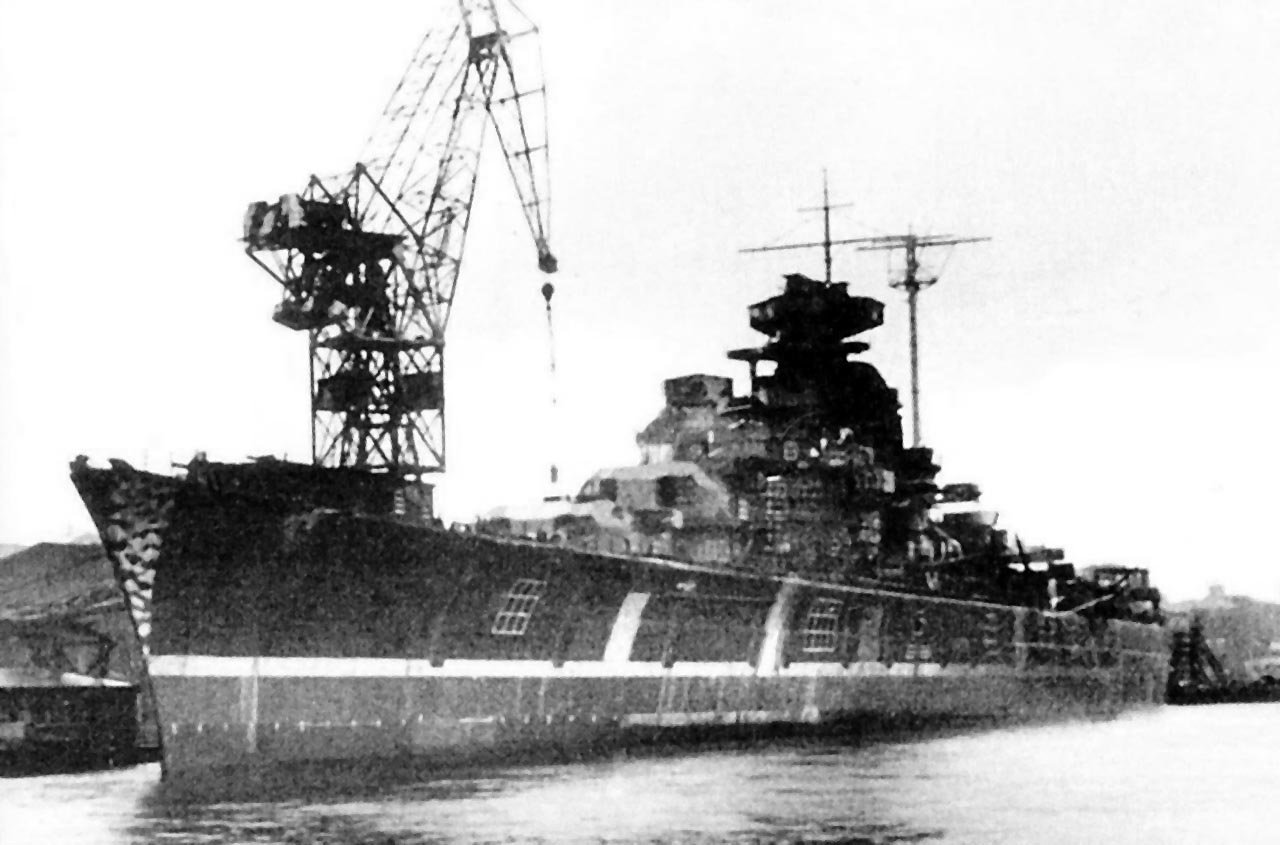


(Bismarck image). The battleship Bismarck was built at the Blohm & Voss shipyard in Hamburg, laid down on July 1, 1936,...
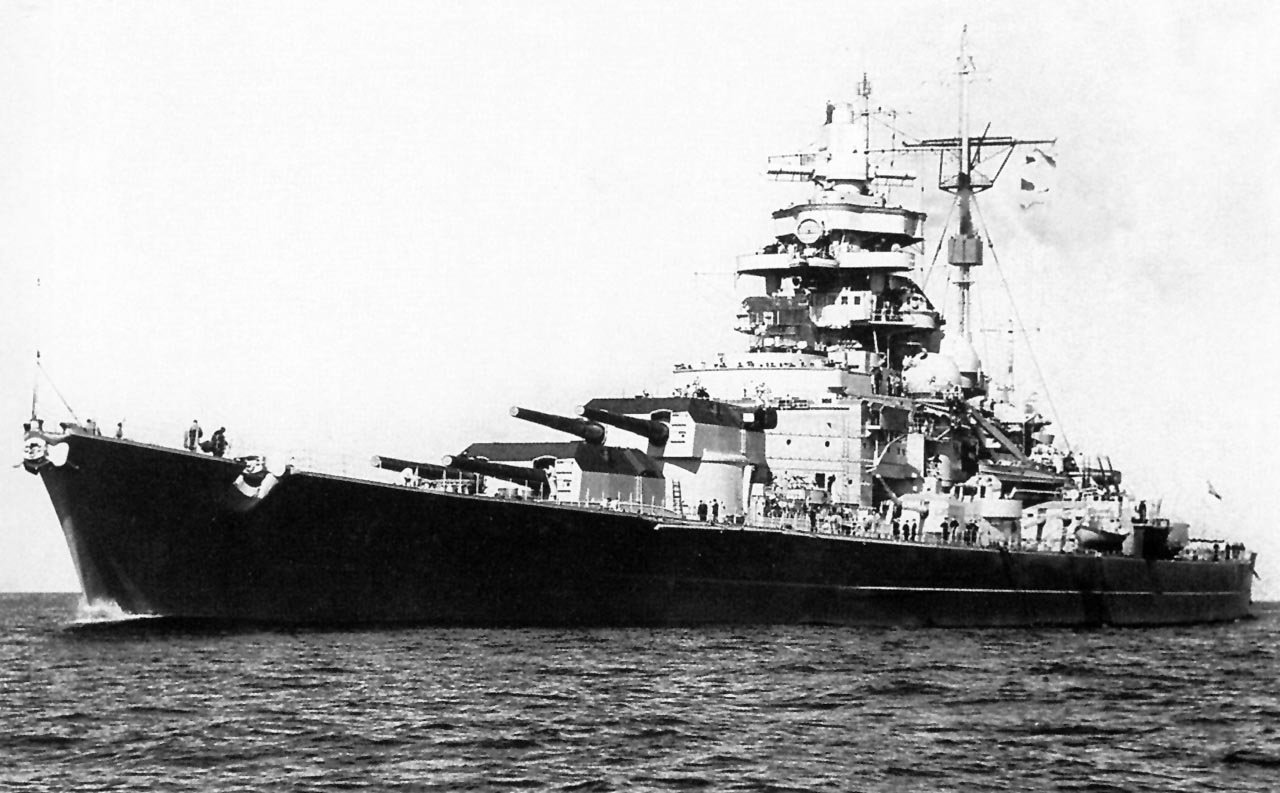
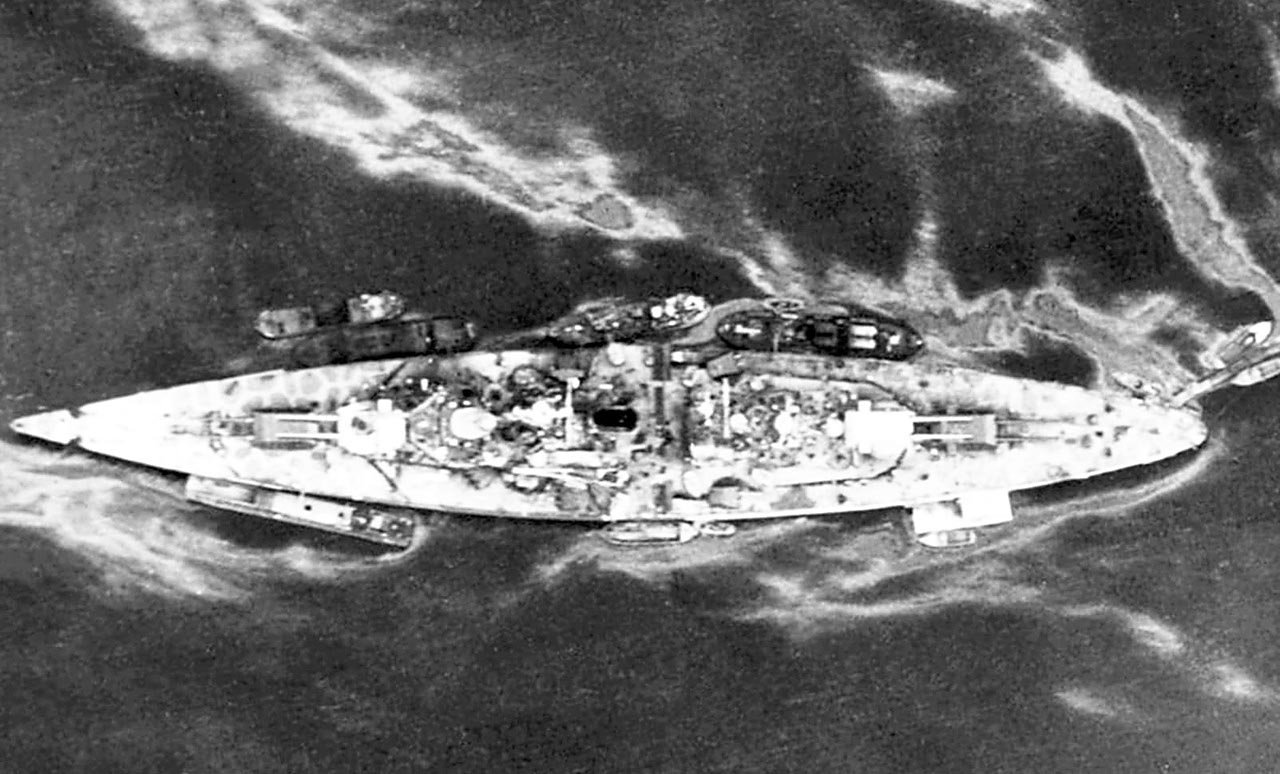
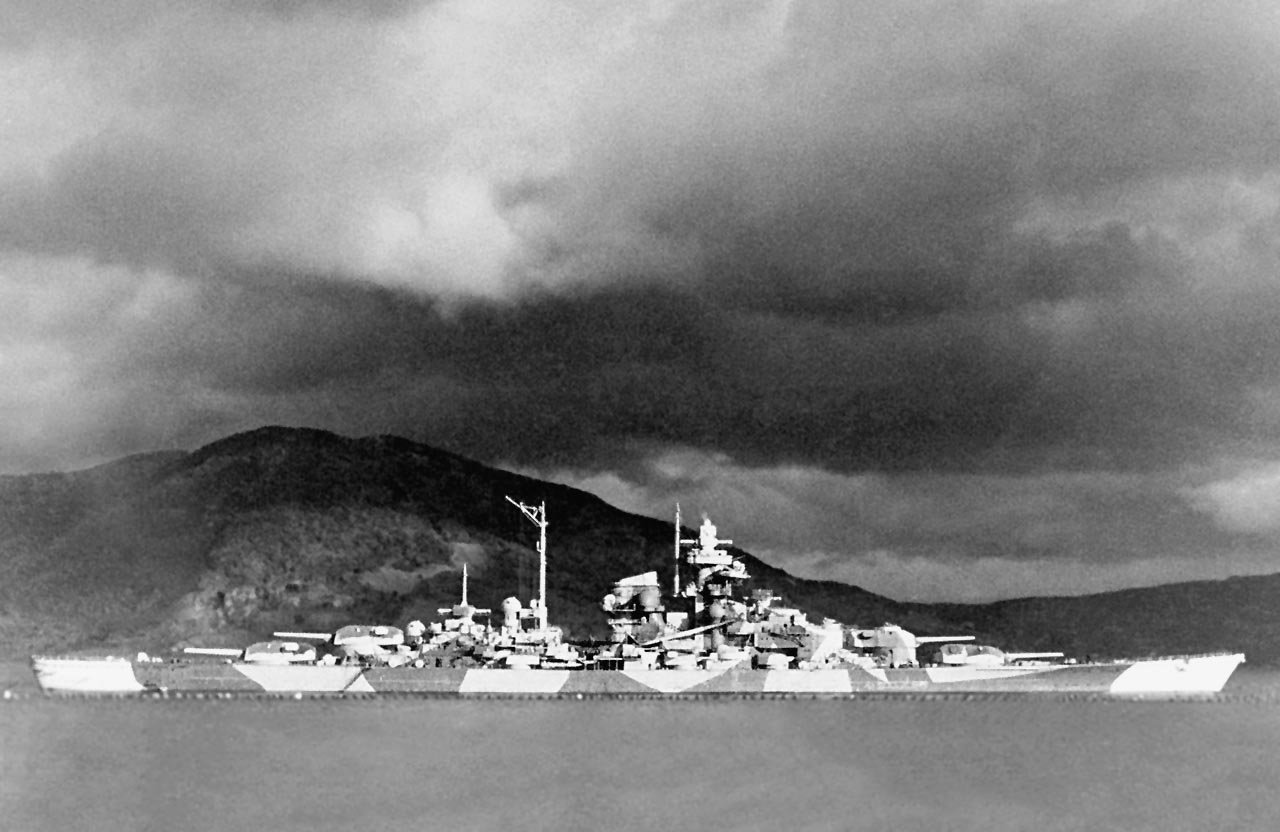
(Bismarck image). The main gun turrets and barbettes were the most heavily protected areas of the Bismarck class. On these ships,...
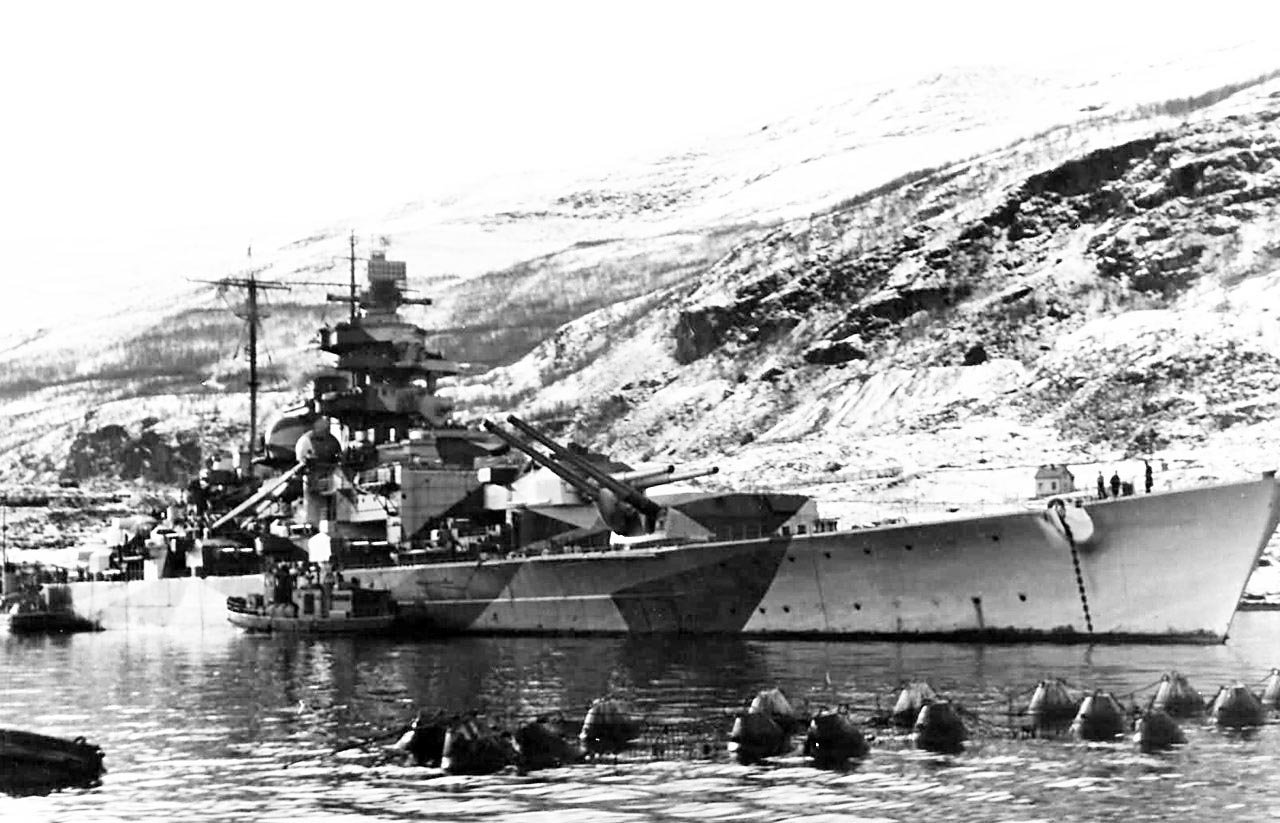
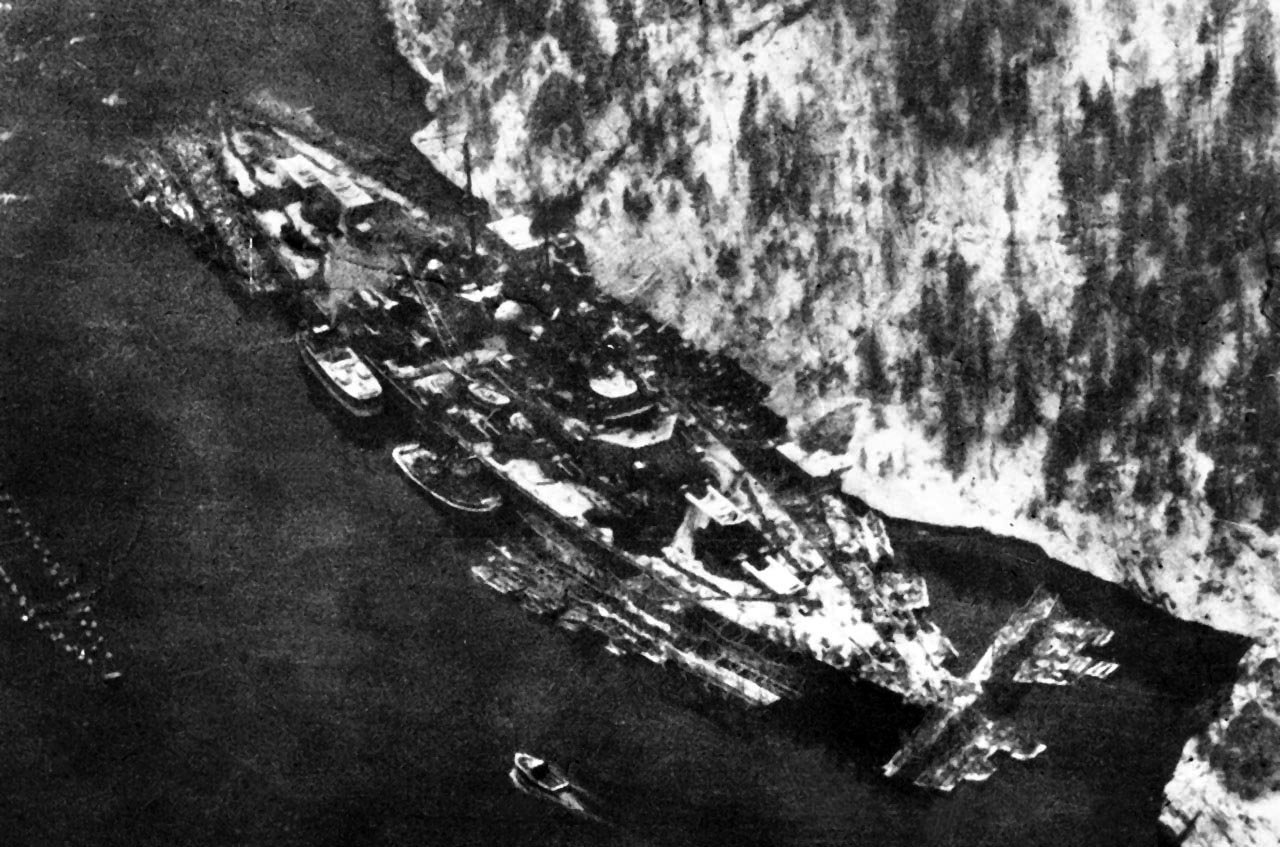
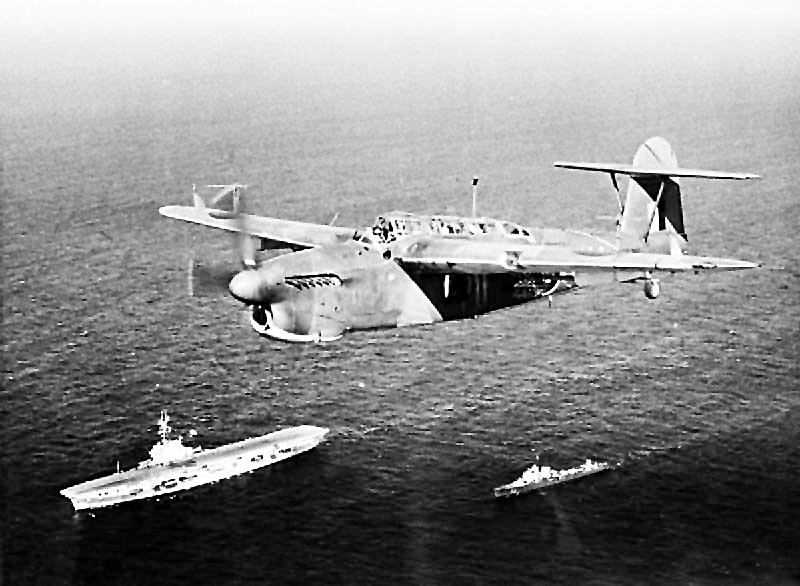
(Bismarck image). From his entry into politics, Hitler always proclaimed that if he ever came to power in Germany, one of...